Installing a sink faucet may seem like a daunting task, but with a little guidance and the right tools, it can be a straightforward DIY project. Whether you’re replacing an old faucet or installing a new one, this step-by-step guide will help you navigate through the process with ease. So, roll up your sleeves, gather your tools, and let’s get started on installing a sink faucet!
Step 1: Gather the necessary tools and materials
Before you begin, make sure you have all the tools and materials you’ll need for the installation. Here’s a handy checklist to ensure you’re well-prepared:
- New sink faucet
- Adjustable wrench
- Plumber’s tape (Teflon tape)
- Pipe wrench
- Bucket or towel
- Screwdriver
- Channel-lock pliers
- Plumber’s putty (if required)
- Silicone sealant (if required)
- Towels or rags
Step 2: Turn off the water supply
Before you begin any work, it’s crucial to shut off the water supply to the sink. Locate the water valves underneath the sink and turn them clockwise until they are fully closed. Afterward, turn on the faucet to release any remaining water pressure in the lines.
Step 3: Remove the old faucet (if applicable)
If you’re replacing an old faucet, you’ll need to remove it first. Use a screwdriver or an adjustable wrench to disconnect the supply lines from the faucet. Then, unscrew the nuts holding the faucet in place. You may need a basin wrench or channel-lock pliers to loosen the nuts. Once the nuts are removed, lift the old faucet out of the sink and clean the area thoroughly.
Step 4: Prepare the new faucet for installation
Before installing the new faucet, it’s important to read the manufacturer’s instructions carefully. Familiarize yourself with the components and any specific installation requirements. Some faucets may require plumber’s putty or silicone sealant for a watertight seal, while others may not.
Step 5: Install the new faucet
Start by placing the rubber or plastic gasket provided with the faucet onto the sink’s mounting holes. If using plumber’s putty or silicone sealant, apply it to the base of the faucet before positioning it on the sink. Make sure the faucet is properly aligned and centered.
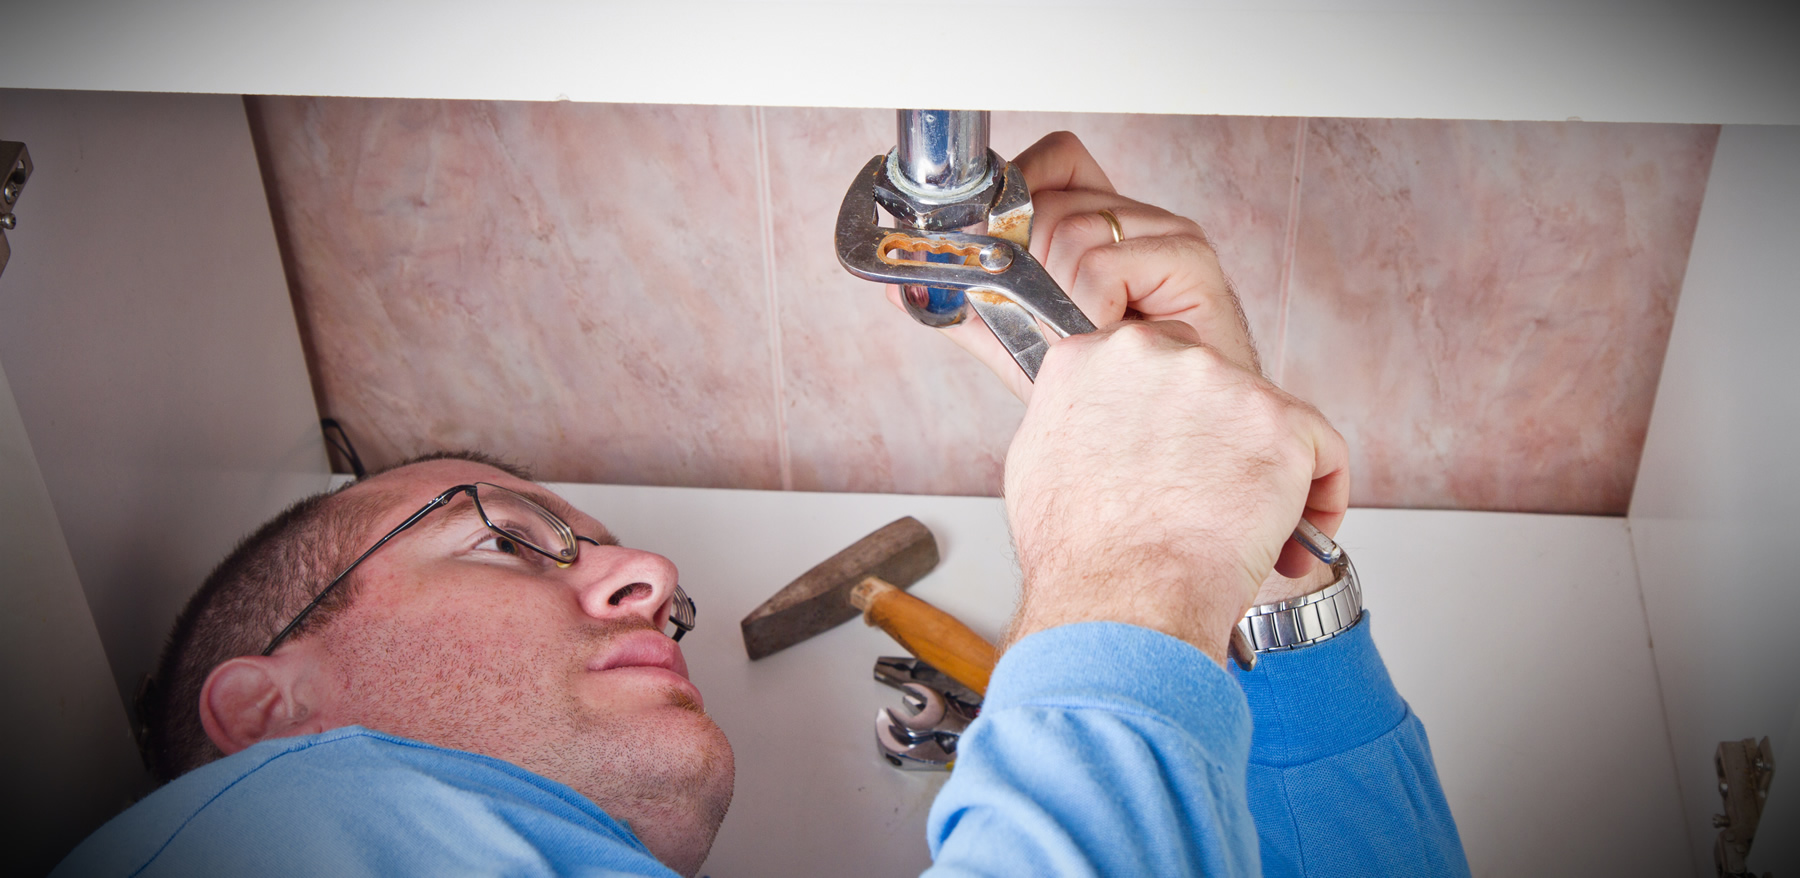
From underneath the sink, secure the faucet in place by tightening the mounting nuts or bolts. Use a basin wrench or channel-lock pliers to ensure a snug fit, but avoid over-tightening to prevent damaging the faucet or sink.
Step 6: Connect the supply lines
Now it’s time to connect the supply lines. Most faucets come with flexible supply lines that have pre-attached fittings. Connect the hot and cold water supply lines to the corresponding valves underneath the sink. Use an adjustable wrench to tighten the connections, but again, avoid over-tightening.
Step 7: Check for leaks and test the faucet
Once the supply lines are connected, it’s essential to check for any leaks. Turn on the water supply valves gradually and observe the connections for any signs of dripping or water seepage. If you notice a leak, try tightening the connection slightly. If the leak persists, you may need to replace the faulty part or consult a professional plumber.
Once you’re confident that there are no leaks, turn on the faucet and check for proper water flow and temperature control. Run both hot and cold water to ensure everything is working correctly.
Conclusion:
Installing a sink faucet can be a rewarding DIY project that saves you money and gives your sink a fresh, updated look. By following this step-by-step guide and exercising caution throughout the process, you